Are you dreaming of harvesting fresh herbs and vegetables right from your backyard or balcony? Learning how to make a kitchen garden at home step by step is not only simple but also super satisfying. Whether you have a spacious yard or just a few pots on your windowsill, a kitchen garden allows you to grow your own food, reduce grocery bills, and enjoy chemical-free produce. In this guide, we’ll walk you through each step to help you create a thriving garden in even the smallest of spaces.
Table of Contents
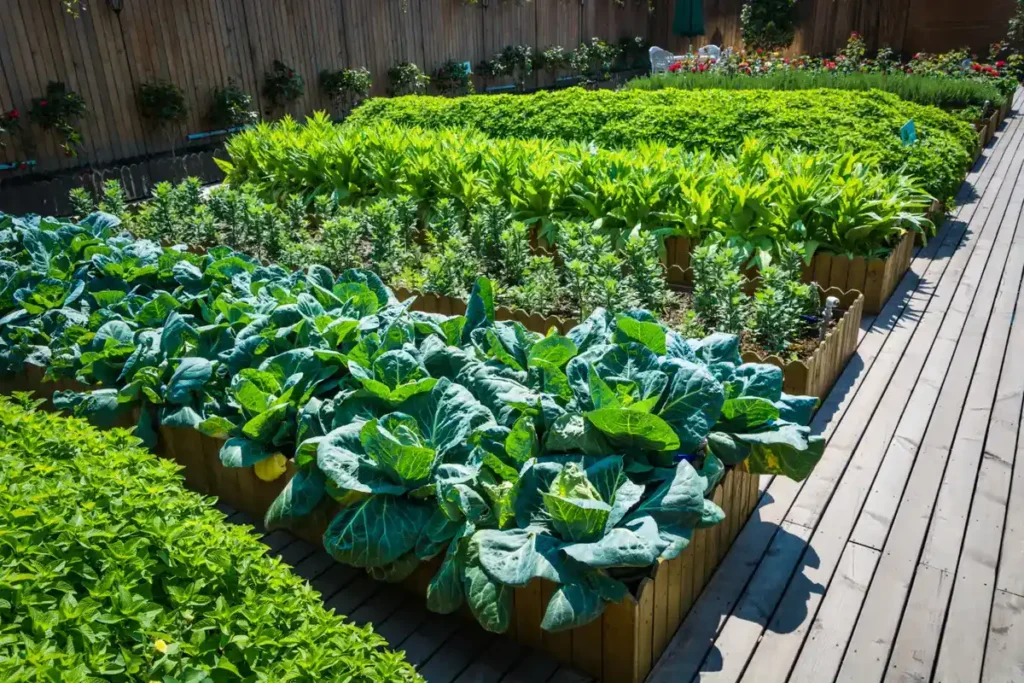
How to Make a Kitchen Garden at Home Step by Step
1. Choose the Right Location
- The first step in making a kitchen garden at home is selecting the right location. Ideally, choose a spot that receives at least 5 to 6 hours of direct sunlight every day, such as a backyard, balcony, terrace, or even a windowsill.
- The area should be well-ventilated and easy to access for daily care, like watering and harvesting.
- Ensure that the location is close to your kitchen for convenience and has a good drainage system to avoid waterlogging.
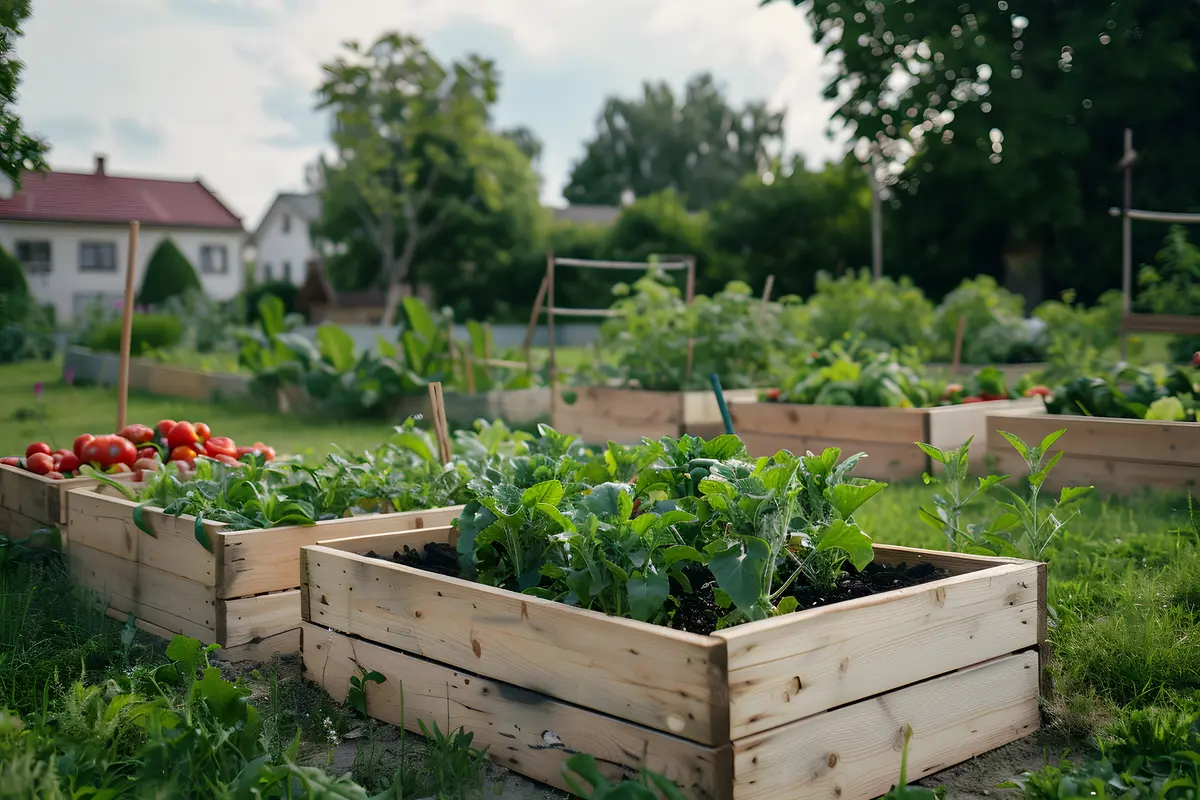
2. Plan Your Garden Layout
- Once you’ve chosen the location, plan the layout of your kitchen garden. Decide whether you want to use pots, raised beds, hanging containers, vertical planters, or direct ground planting.
- Make a list of the vegetables and herbs you want to grow, considering your space, sunlight, and seasonal availability. Common choices include tomatoes, coriander, mint, spinach, chili, etc. Allocate space based on each plant’s growth habit and spacing requirements.
3. Prepare the Soil or Containers
- Healthy soil is the foundation of a successful kitchen garden. If you’re using ground space or raised beds, loosen the soil and enrich it with organic compost, cow dung, and cocopeat to improve its fertility, drainage, and water retention.
- For container gardening, use pots with drainage holes and fill them with a good quality potting mix made of garden soil, compost, and sand or cocopeat.
- Sterilizing the soil or compost before use helps prevent pests and diseases.
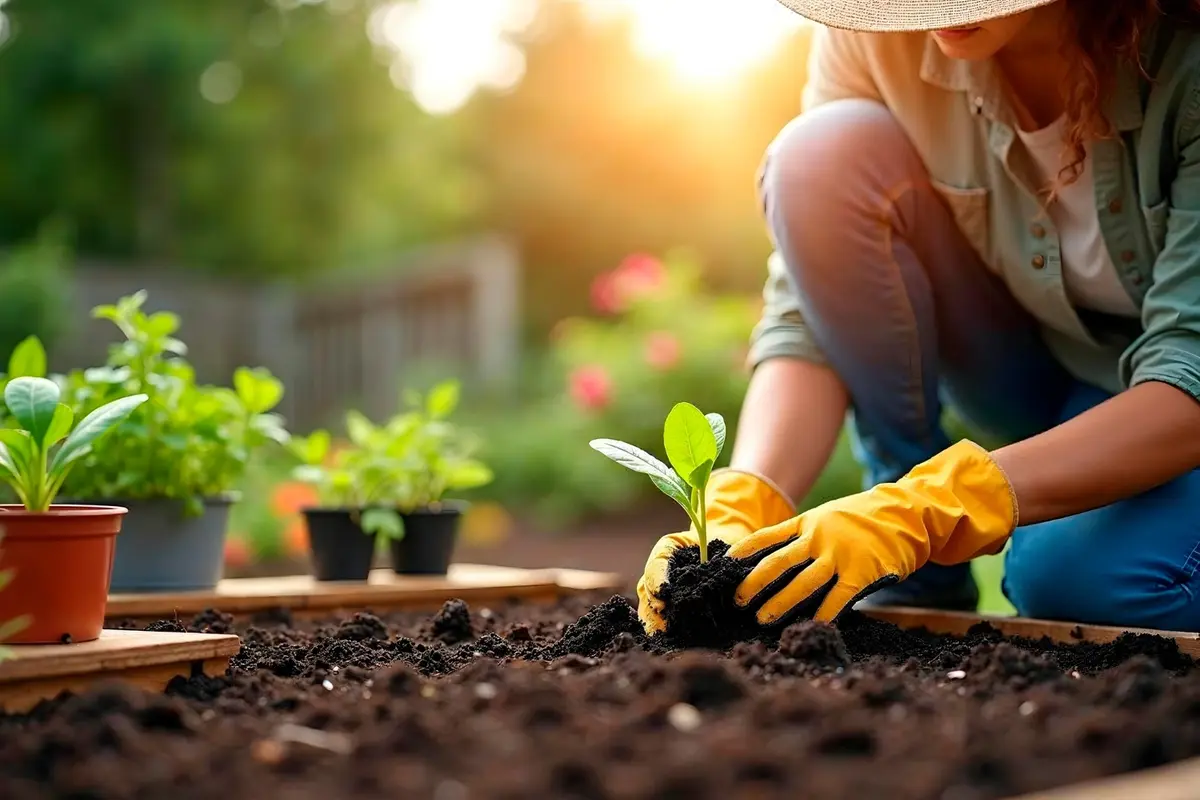
4. Select and Sow the Seeds or Seedlings
- Buy good-quality seeds or healthy seedlings from a trusted nursery.
- Read the instructions on the seed packet for sowing depth and spacing. Sow seeds directly into the soil or start them in seed trays and later transplant them to larger containers. Water gently after sowing and cover the seeds lightly with soil.
- For quicker results, you can use saplings of herbs like mint, basil, or curry leaves, which can be propagated from cuttings or bought as ready plants.
5. Watering and Sunlight Management
- Watering is crucial in the early stages of plant growth. Keep the soil consistently moist but not soggy. Water early in the morning or late in the evening to prevent water evaporation and scorching of leaves. Adjust watering frequency based on weather conditions, more during summer and less during rainy or humid days.
- Monitor your plants daily for any signs of wilting or dryness and ensure they receive adequate sunlight for proper growth and photosynthesis.
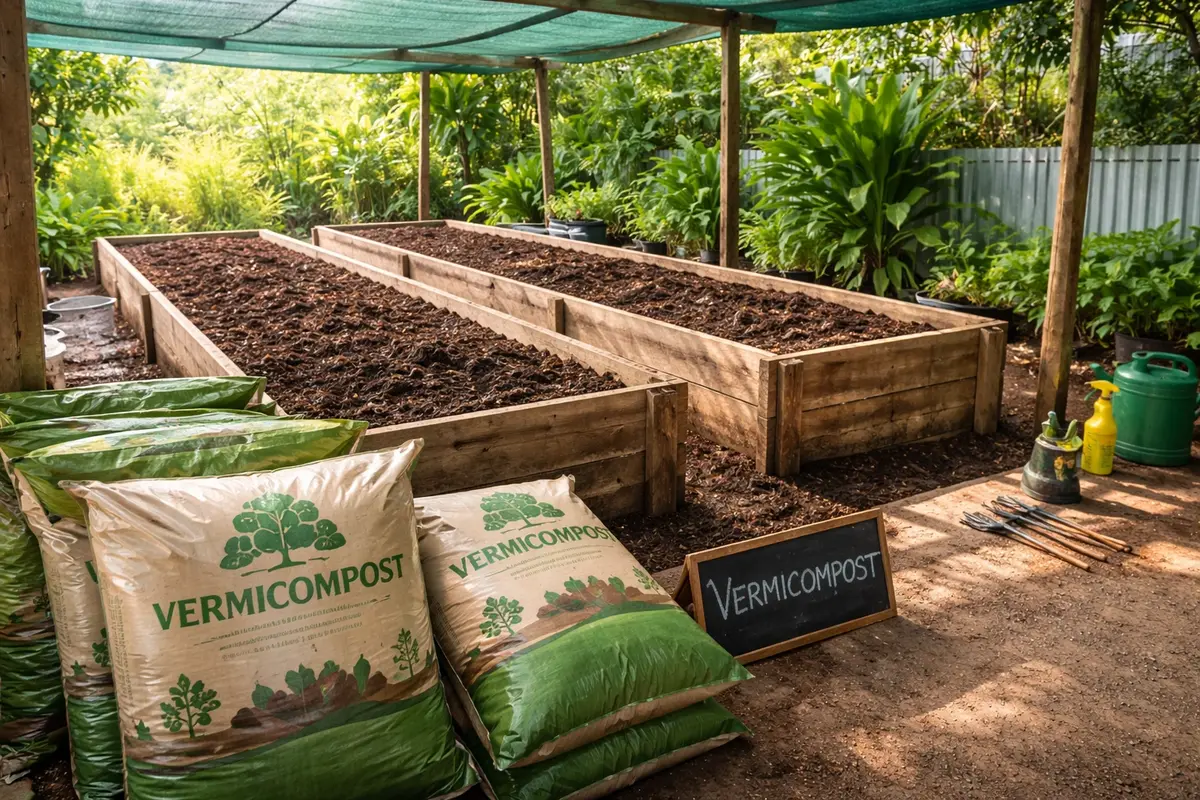
6. Fertilizing and Care
- Use organic fertilizers such as vermicompost, cow dung, or liquid compost tea every 15–20 days to nourish your plants.
- Avoid synthetic chemicals in your kitchen garden.
- Regularly remove weeds to reduce competition for nutrients and prevent pest habitats.
- Practice crop rotation and intercropping to keep the soil healthy.
- Prune dead leaves and stems to encourage new growth, and support taller plants like tomatoes or beans with stakes or trellises.
7. Pest and Disease Control
- Monitor your plants regularly for signs of pests like aphids, mealybugs, or caterpillars, and diseases such as mildew or root rot.
- Use natural pest control methods like neem oil spray, garlic-chilli spray, or soap water. Introducing beneficial insects like ladybugs can also help manage harmful pests.
- Avoid overwatering and overcrowding, as they often lead to fungal infections and poor air circulation.
8. Harvesting Your Produce
- The final and most satisfying step is harvesting your fresh produce.
- Harvest herbs like coriander, mint, and basil by snipping the top leaves regularly, which also promotes bushy growth.
- Pick vegetables when they are tender and ripe, based on the variety. Regular harvesting encourages the plant to produce more and maintains overall health.
- Enjoy your homegrown food straight from your kitchen garden; fresh, nutritious, and chemical-free!
Conclusion
Starting a kitchen garden at home is full of adventure that not only delivers fresh, organic food to your meals but also encourages a healthier, more sustainable way of living. By following these simple step-by-step guidelines, from choosing the right location to harvesting your homegrown vegetables, you can transform even a small space into a green, productive space. Whether you are a beginner or a gardening enthusiast, a kitchen garden adds joy, greenery, and nutrition to your daily life.